
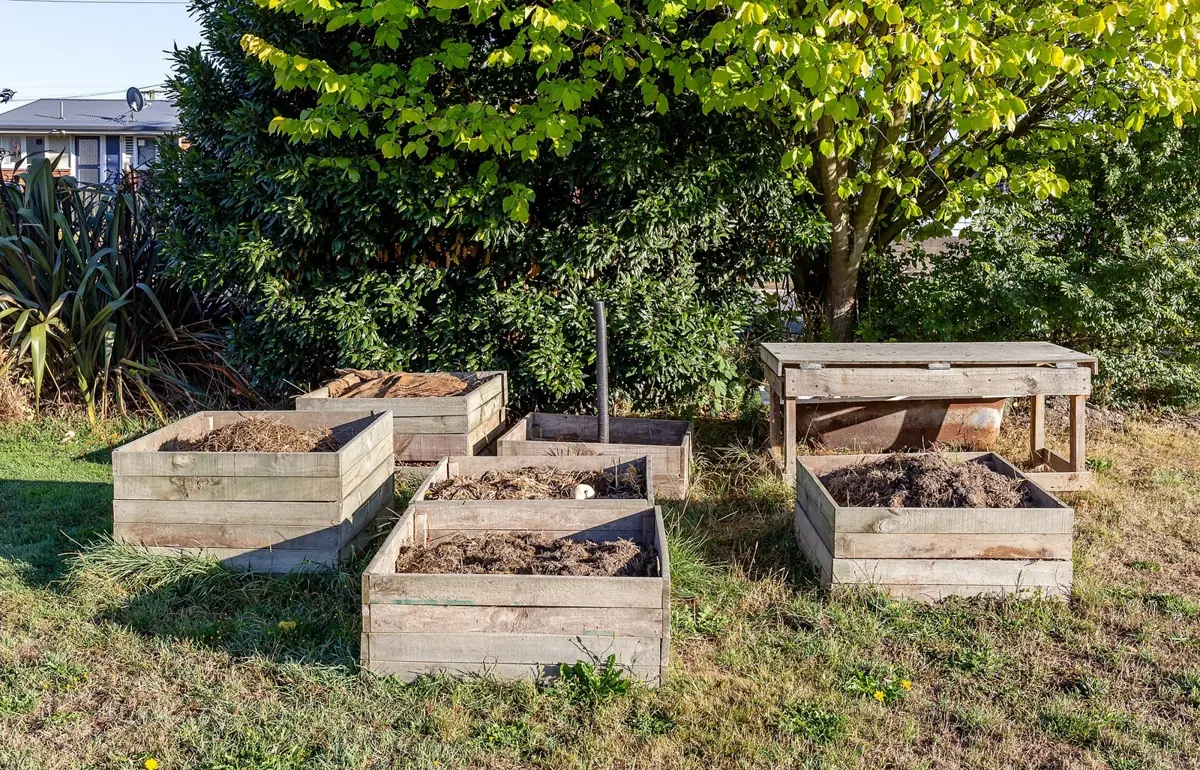
Choose a practical site and system
Put a bin or heap somewhere accessible, with enough room to add material and remove finished compost. A sheltered, partly shaded place on soil is a useful starting point; a hard base can work if drainage and access are managed. Use a bin if you want a tidy, contained heap, or a pallet bay if your plot produces more material. A lid or cover helps manage rain and moisture.
Check site rules before building a bin, importing material or siting it near shared boundaries. One bin is enough to begin; a second bay makes it easier to separate fresh material from compost that is maturing.
Balance green and brown ingredients
Green materials are generally moist and nitrogen-rich; brown materials are drier and carbon-rich. Mix them as you add them instead of making thick layers of one material. A rough starting point is to add a substantial share of brown material, adjusting as you observe the heap. Chop bulky stems and mix grass clippings with dry leaves or torn plain cardboard so they do not mat into a slimy layer.
- Good greens: uncooked fruit and vegetable scraps, fresh plant trimmings, annual weeds without mature seed, and modest amounts of grass clippings.
- Good browns: dry leaves, chopped stems, small woody prunings, straw, torn plain cardboard and shredded uncoated paper.
- Usually avoid in an ordinary cold allotment heap: meat, fish, dairy, cooked food, oils, pet waste, nappies, glossy or heavily coated paper, diseased plants and perennial weed roots that can regrow.
- Do not add invasive weeds, suspicious plant material or contaminated soil unless you have checked the appropriate disposal guidance.
Moisture, air and turning
A compost heap needs moisture and air. The material should feel like a wrung-out sponge: damp, not dripping. If it is dry, add water gradually while mixing; if it is wet or compacted, add dry brown material and loosen it. Turning or mixing introduces air and can speed decomposition, but a heap can compost without frequent turning; check and adjust it when convenient.
Composting slows in cold weather and often becomes more active in warm months. Do not expect a small, cold heap to behave like an industrial composting process. Ordinary home composting does not reliably destroy every pathogen or weed seed, so keep diseased material and persistent weed roots out unless you know your process reaches suitable conditions.
When compost is ready and how to use it
Finished compost is dark, crumbly and earthy-smelling, although small pieces of tougher material may remain. Depending on heap size, ingredients, moisture, aeration and season, it may take months or longer. Sieve coarse pieces and return them to a new heap. Spread mature compost as a surface mulch or soil improver; avoid using immature, heating material around delicate seedlings.
Troubleshooting
- Slow or unchanged: check whether the heap is too dry, too cold, too small, too woody or compacted. Add suitable green material, moisture or air as needed; chop large items.
- Sour or rotten smell: often too wet, compacted or rich in greens. Mix in dry browns and turn or loosen the material.
- Very wet heap: cover from heavy rain, improve drainage and mix in dry leaves or cardboard.
- Very dry heap: water in stages while mixing, especially in summer; a lid can slow drying.
- Flies or rodents: avoid cooked food, meat and dairy, cover fresh kitchen scraps with brown material, secure the bin and follow site advice if pests persist.
- Weeds sprouting: ordinary compost may not have heated sufficiently to kill seeds. Remove weeds before they seed and do not assume home composting sanitises material.